Things Get Painted - Dropzone Commander Shaltari Braves
So let's jump in the
deep end here! I haven't done something this in depth before. A few
posts ago I did an unboxing on the Shaltari Tribes force I had. This
time, I'm painting them, and everyone gets to go along for the ride!
As we go, I'm going to
show you what paints I used, and discuss how I painted them from the
start to end. You'll also get to see me get close to finishing, and
then change my mind. This happens when I don't plan out everything
exactly as I want it, but it's a learning curve. I was going to work
around it, but figured I'd include it as well. So here we go!
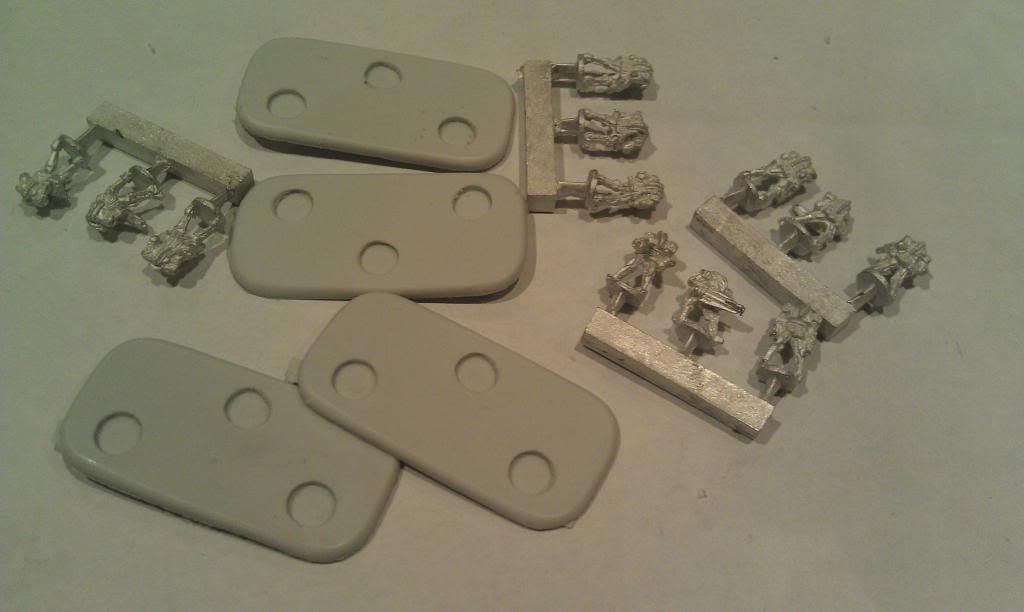
These are the Shaltari
Braves. They come on giant chunky sprues and also have some thin
resin bases to plug into. The bases need to have a tab trimmed and
filed from the bottom so that they sit flat. The models themselves
are quite easy to clean while on the frames. I left them on while I
did that, as they are easier to handle, and then brushed them with a
wire brush to polish them up a bit before attaching them to the
bases.
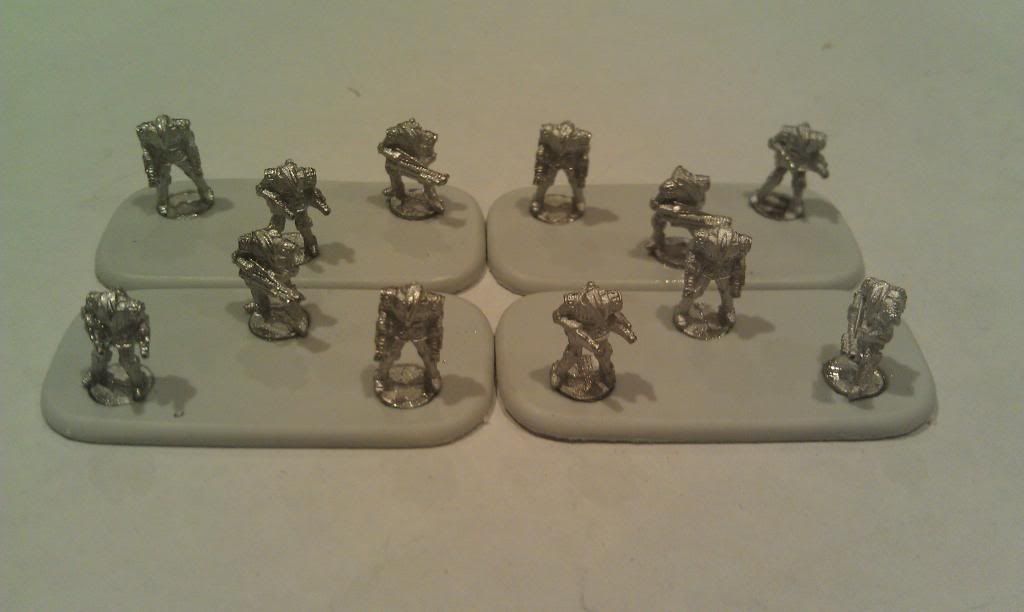
Here they are, all
attached to the bases and ready for the next step. Attaching these
guys brought back memories of Epic... Hmm... Epic...
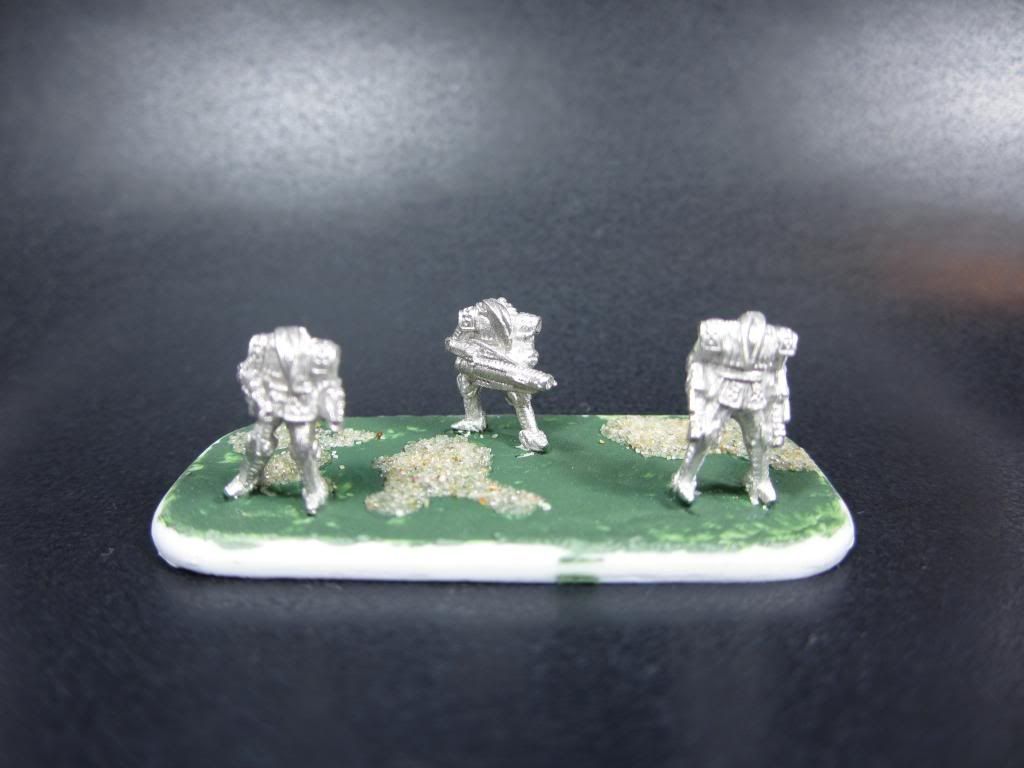
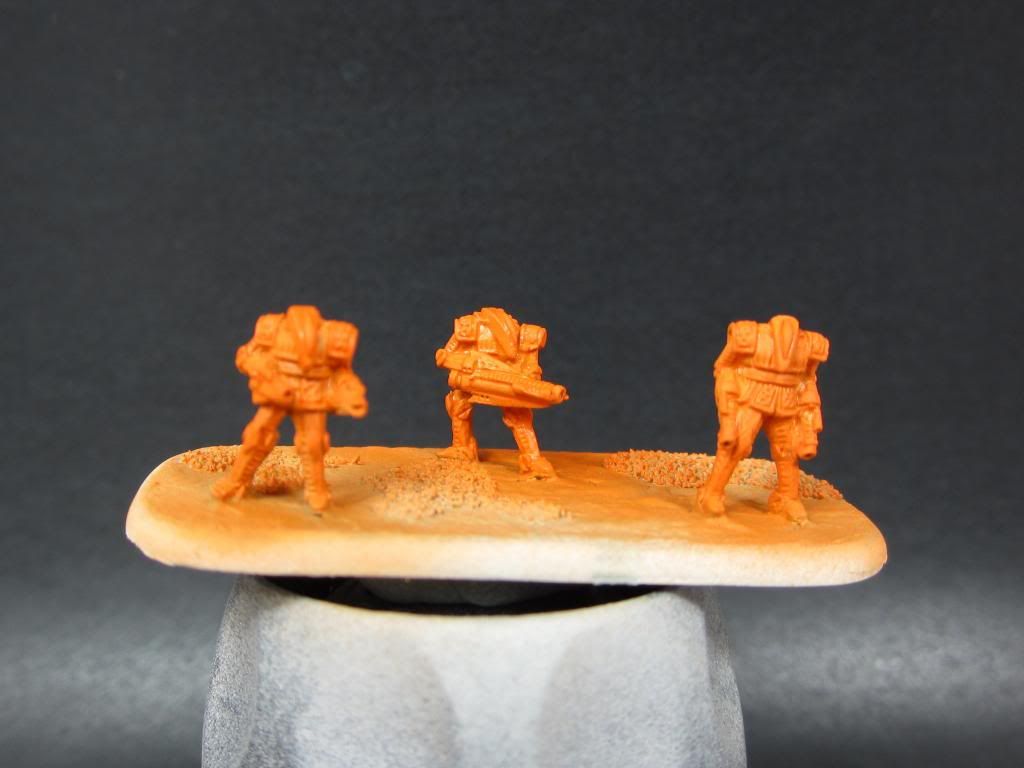
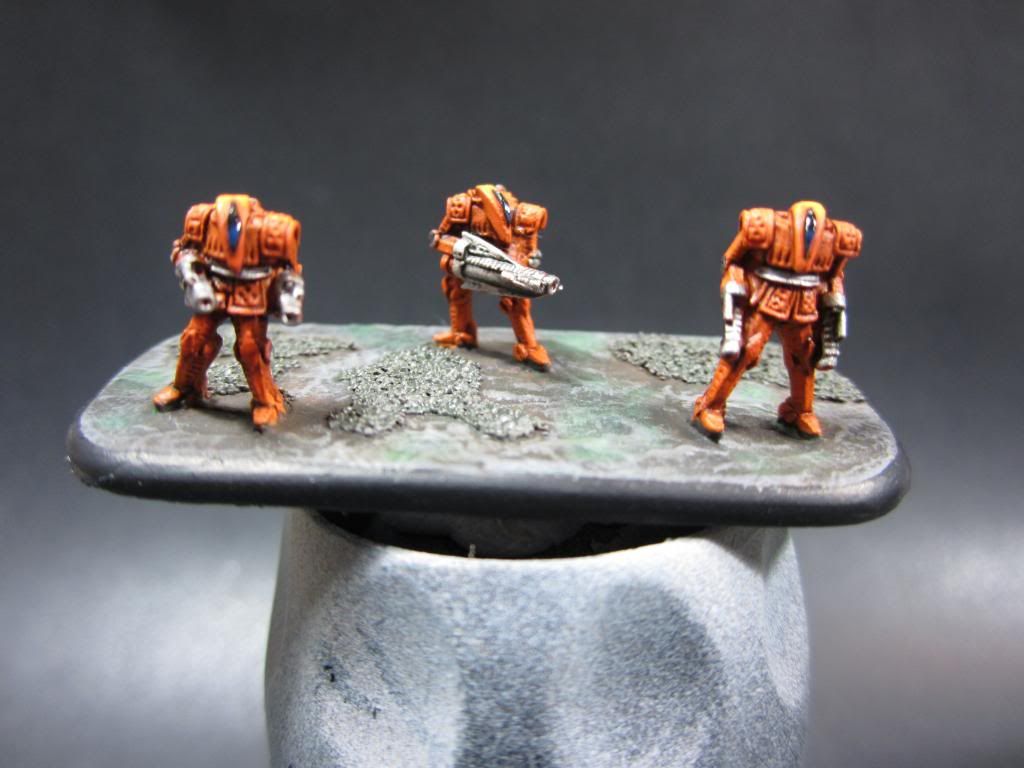
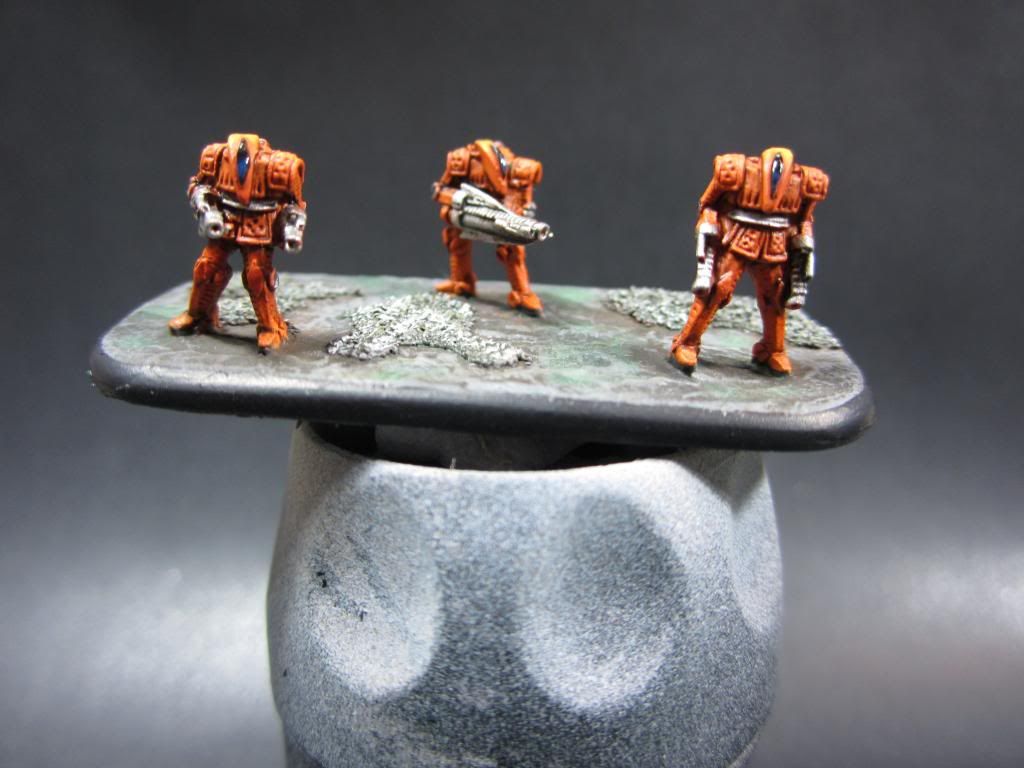
This is the stand I'm
going to keep photographing for this walkthrough. Before I went any
further, I stippled the base with Liquid Green stuff to give it a
base level of texture. I then superglued down some patches of beach
sand so that there was a different level of texture as well.
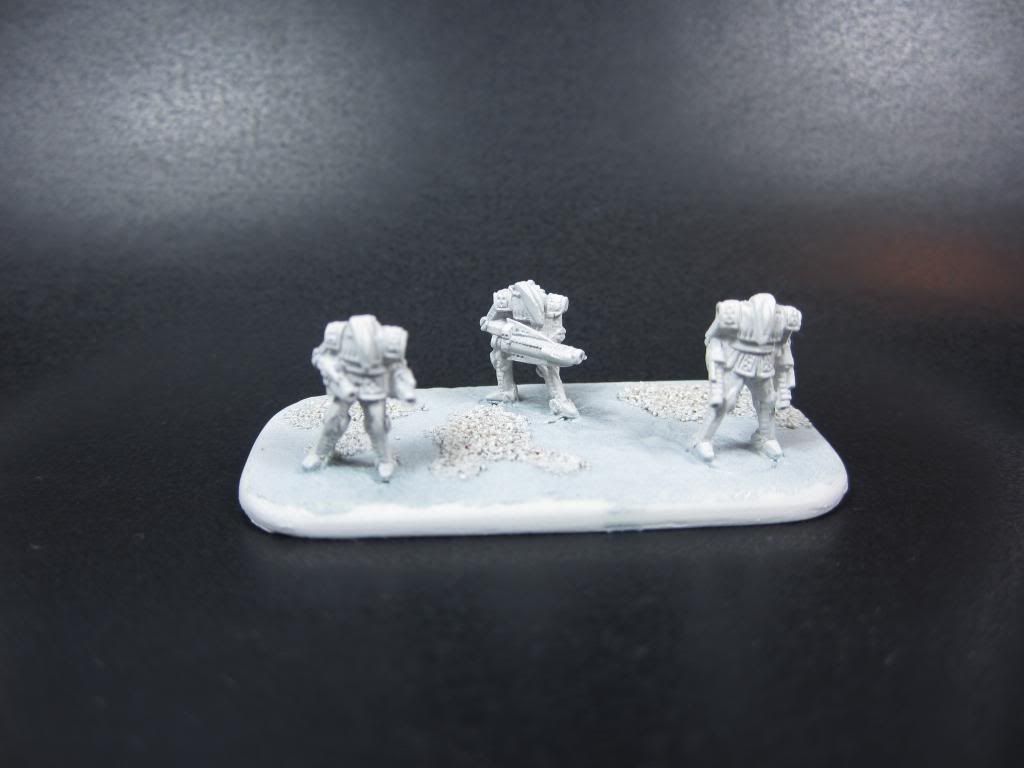
The models were primed
white with GW undercoat before going further. I had decided with
these minis to do the main orange areas with my airbrush to speed
things up, and at the same time reduce the drying time, and keep as
much of the detail showing through a thin a layer of paint as
possible.


Top Left: These are the
main colours I'm using to airbrush on the orange armour. All GW
paints from the new range: Wild Rider Red, Troll Slayer Orange, and
Fire Dragon Bright.
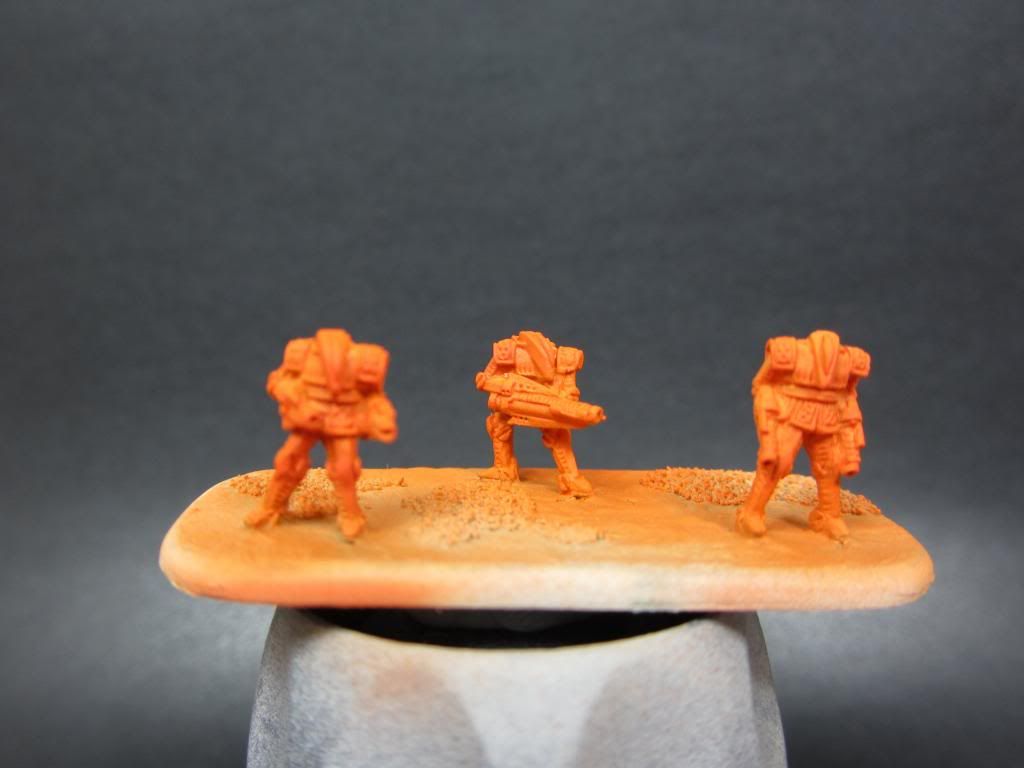
Top Right: The Troll
Slayer Orange airbrushed on to cover all the model.
Bottom Left: The Wild
Rider Red shade airbrushed on. This was done by holding the models
upside down, and spraying at them from the underside.
Bottom Right: The Fire
Dragon Bright airbrushed on. This was done in the opposite manner to
the shade: It was aimed down onto the model.
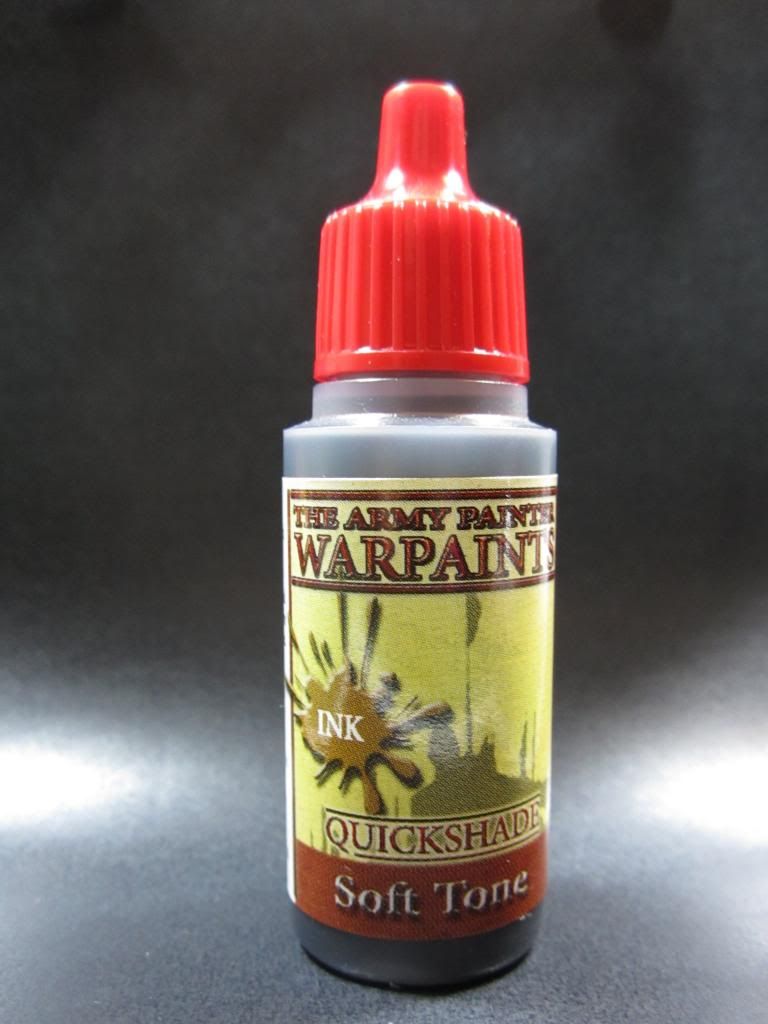
I then took some a new
toy: Army Painter Quickshade Soft Tone. I picked this up literally
because of what I saw it do on some Menoth White Base by a friend at
a recent painting day. I then washed this undiluted over the entire
model and let it dry. It's the right level of dark brown where it
doesn't overpower the orange colour and make it dark, but sinks into
the cracks and gives it a really nice dark line around the edges of
the armour.
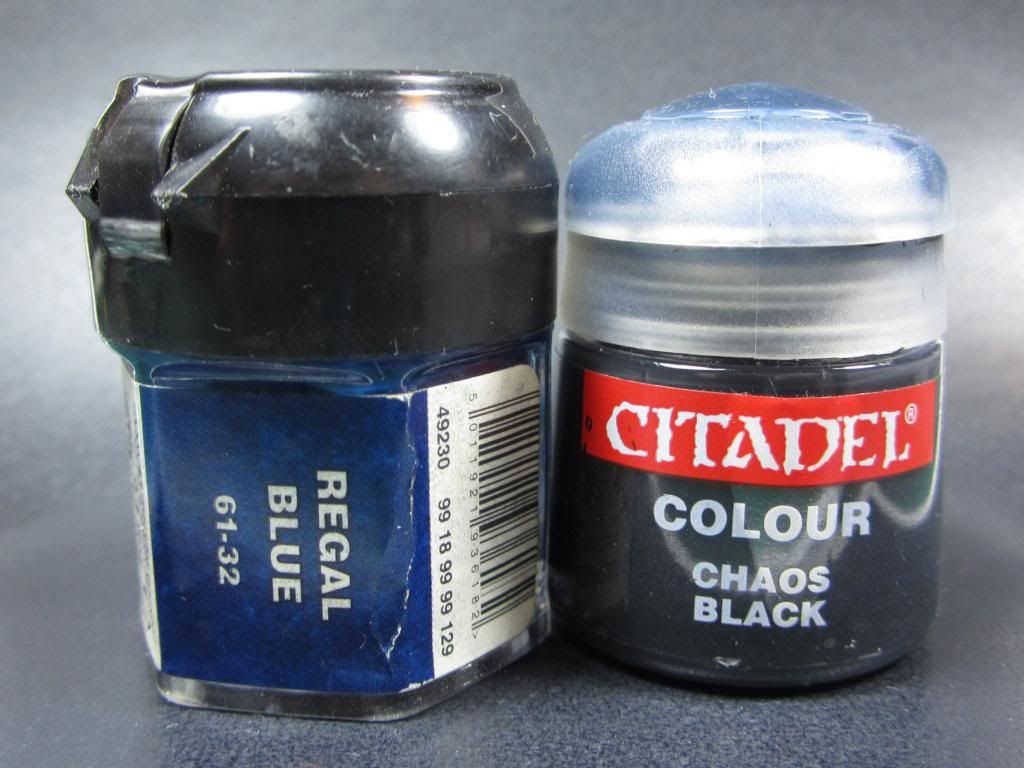
I then got some old GW
Regal Blue and Chaos Black. I mixed them on my pallet about 4:1 black
to blue and used this to pick out the visors. I mixed a bit extra, as
I would be using it for the edge of the bases later on as well. I
then picked out the bottom 2/3 of the visors with Regal Blue.
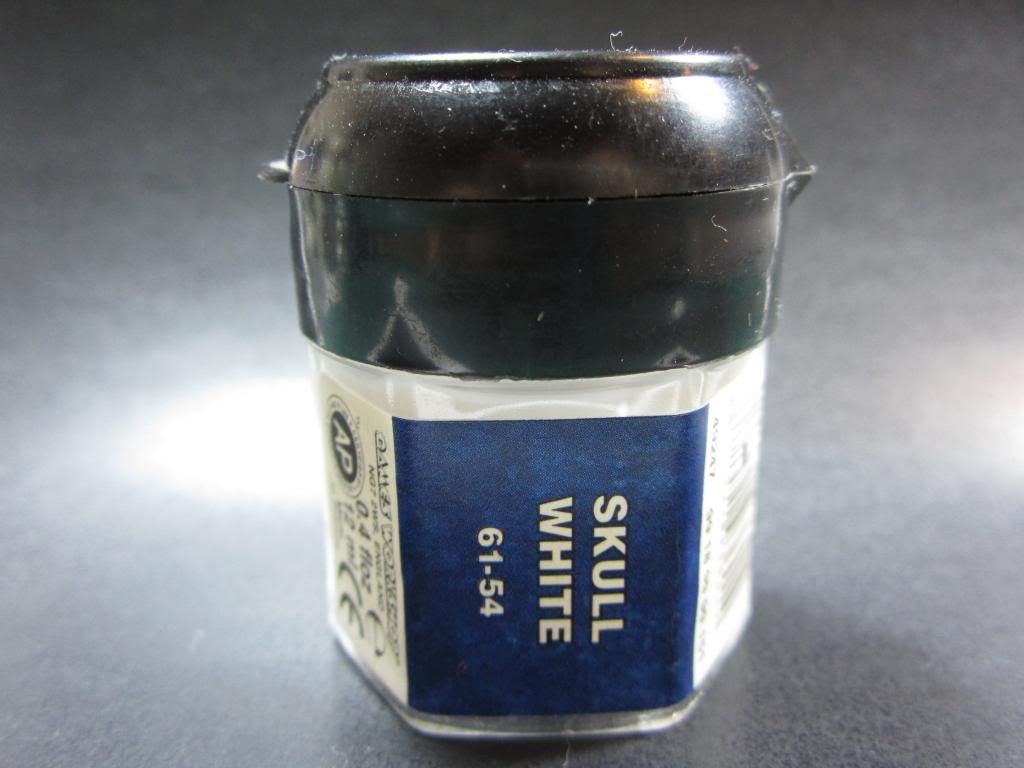
Trusty Skull White. You
can guess how much I use by the fact its such an old jar. I used this
to add a tiny dot at the top of the visors to give a reflective point
on them.
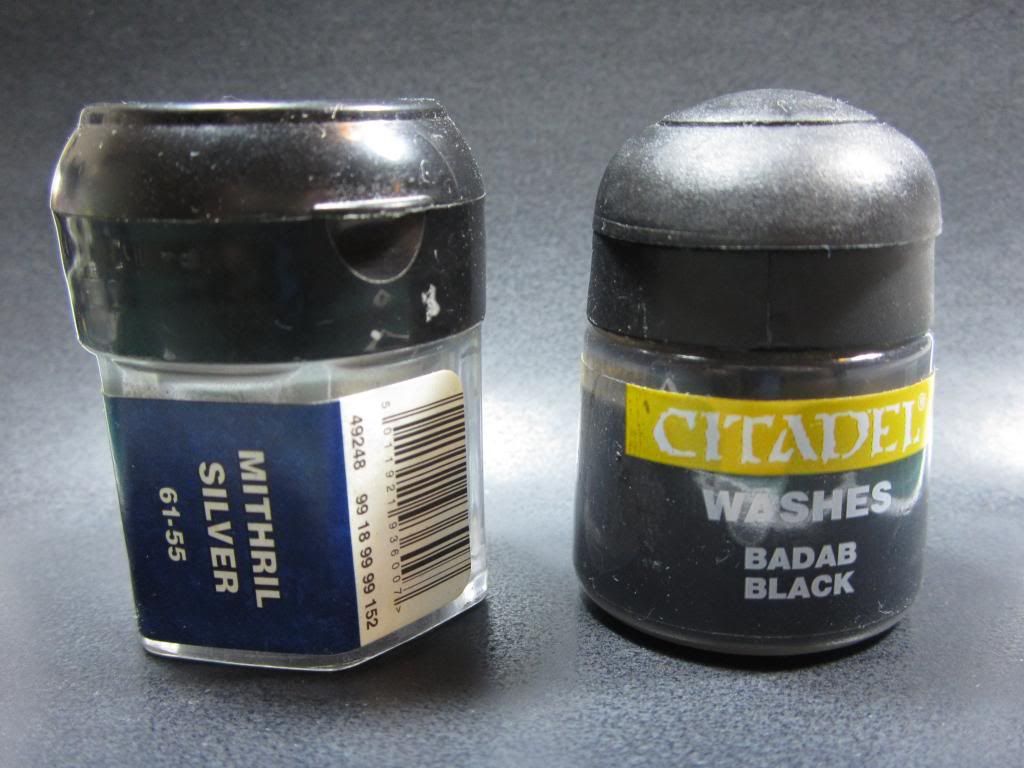

Mithril Silver and
Badab Black were now into the game. I picked out all the metallic
details (Including some pipes on the backs) with silver, and then
gave them a wash of Badab Black to bring out the details.

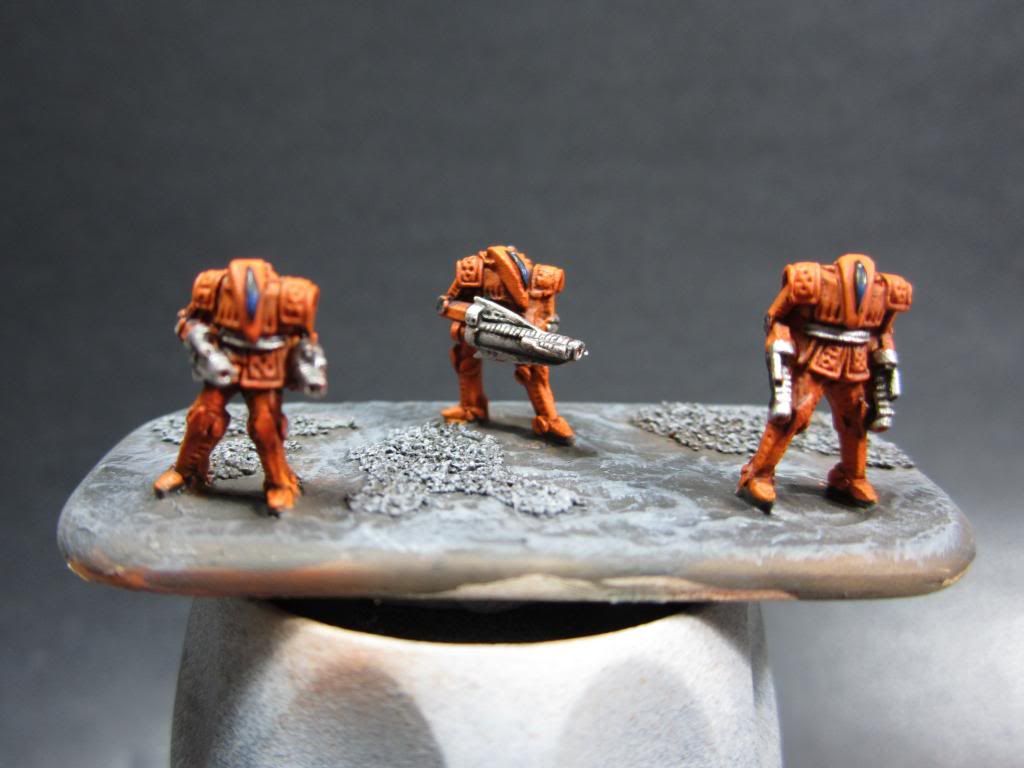
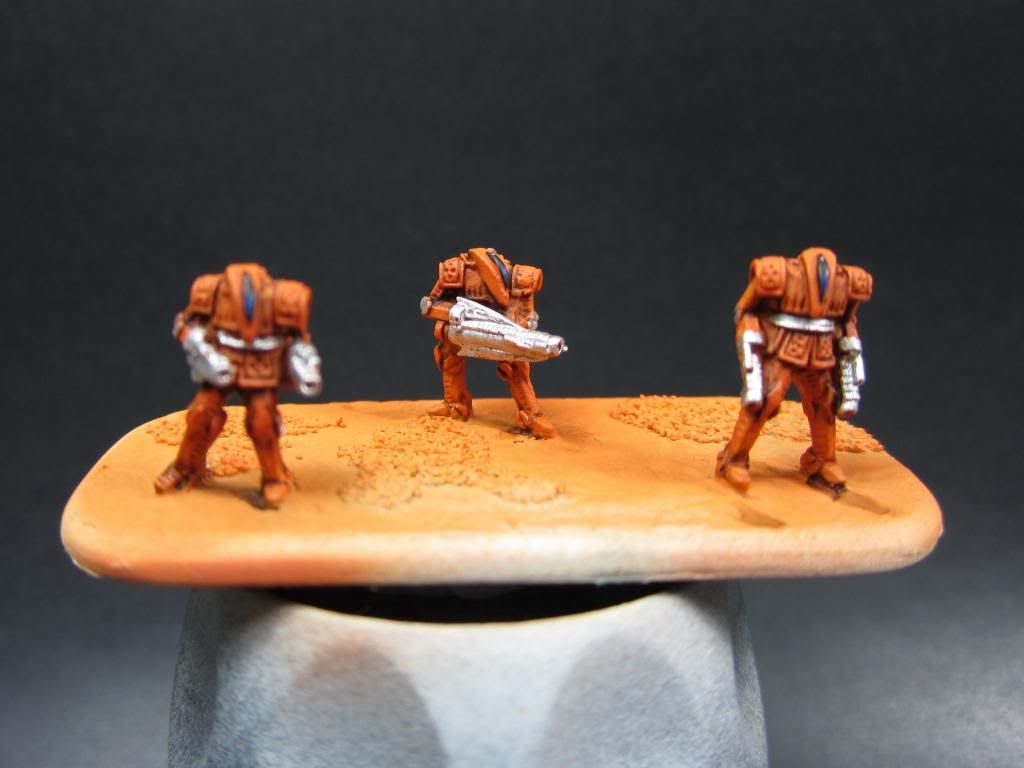
Now for the bases.
Charadon Granite was used as a base for the entire base (Top Left),
then drybrushed with Codex Grey (Top Right), and then Fortress Grey
(Bottom Left). I then went and edged the base with the Regal Blue and
Chaos Black mix from earlier (Bottom Right).
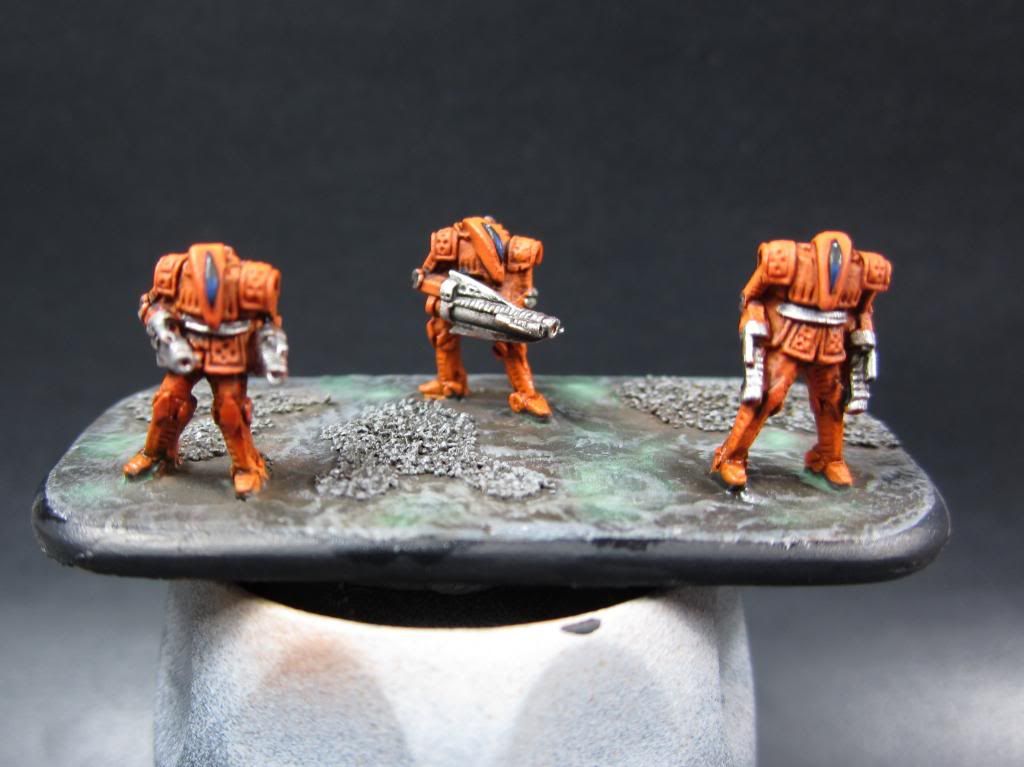
I then used some oil
paints to wash some Burnt Umber onto the non-sand parts of the base.
While this was drying, I spotted one some oil wash Terre Verde which
dried to give the pale green discolourations.
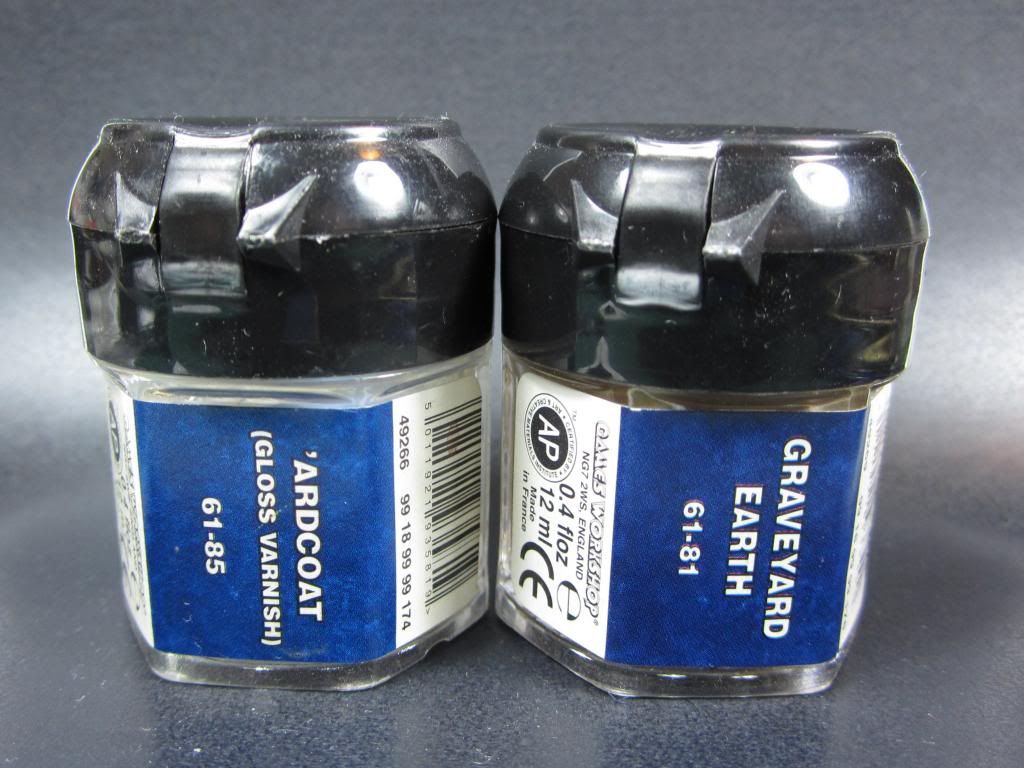
I then used GW Ardcoat
to give the visors a gloss coat, and drybrushed the sand Graveyard
Earth to make it stand out a bit more.
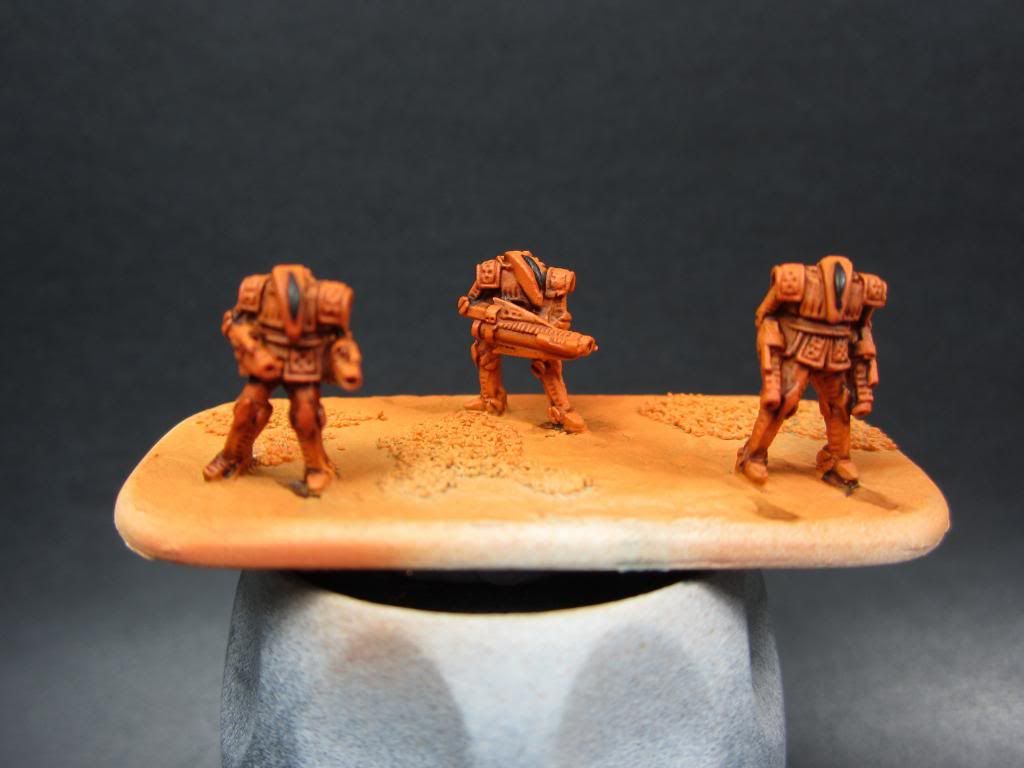
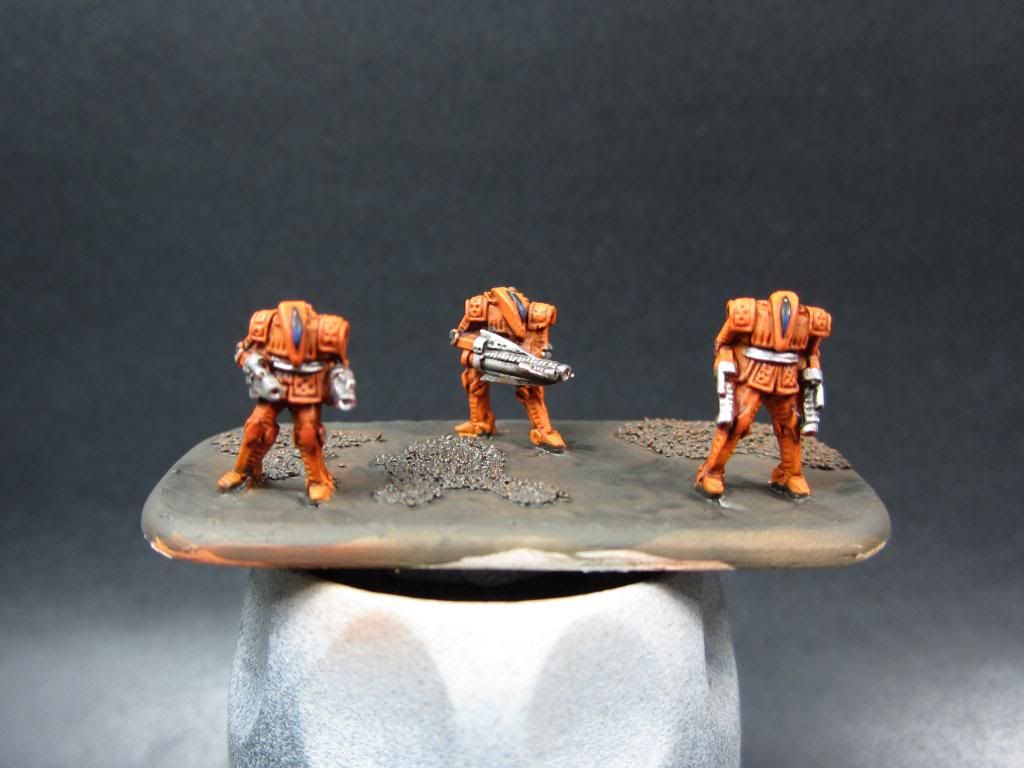
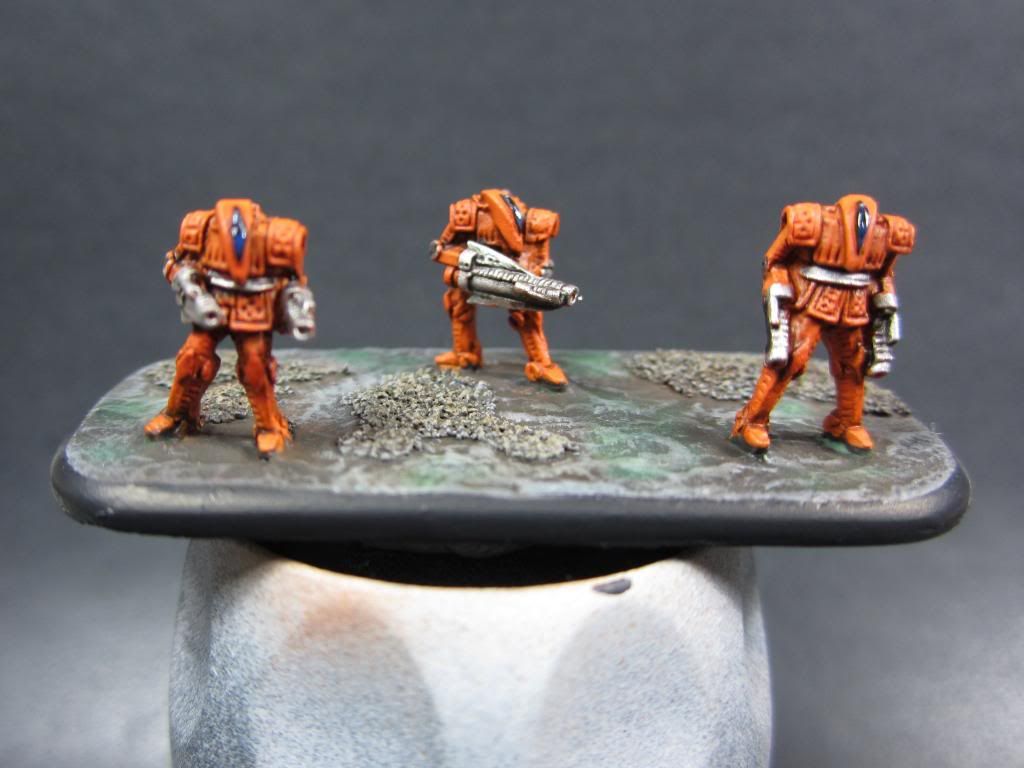
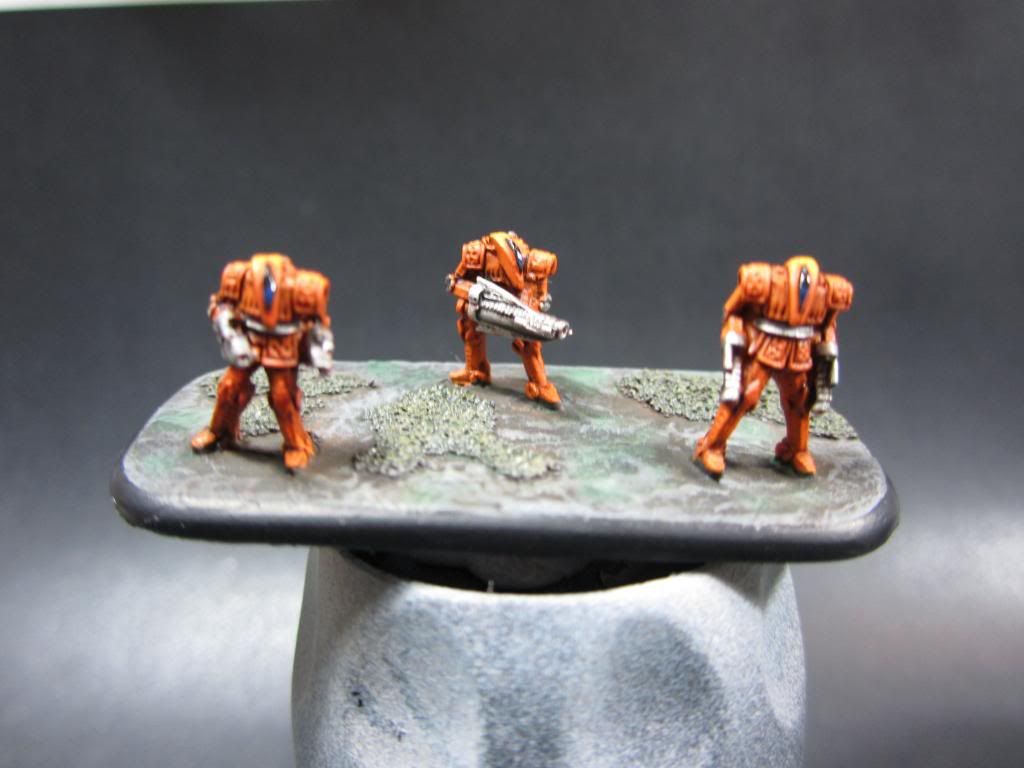
The group at this
point. But something still seemed off...
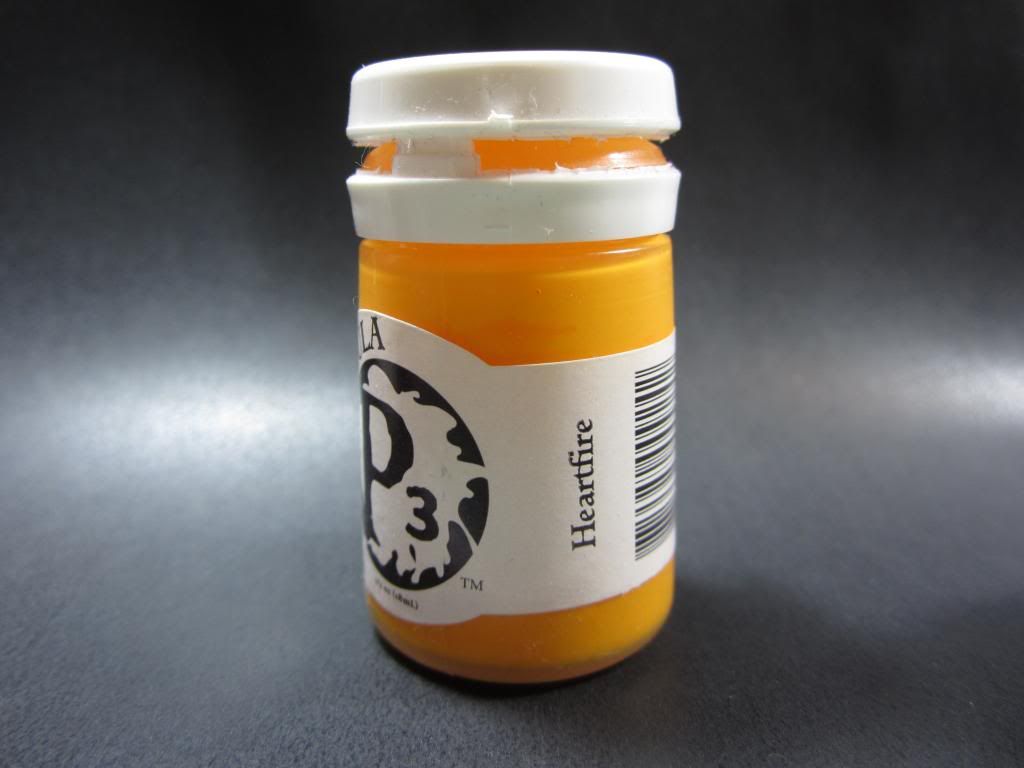

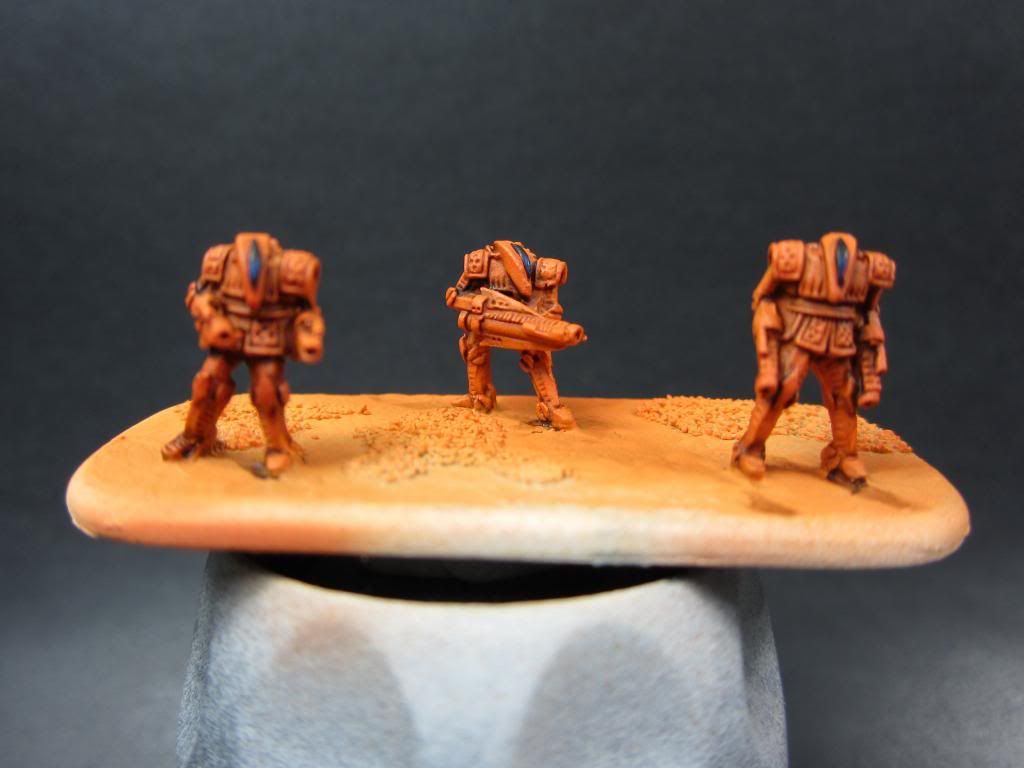
I got some P3
Heartfire, a nice bright yellow colour leaning slightly towards
orange, and quickly picked out a few highlights on the orange armour,
mainly the helmets and shoulders.


The three P3 colours
above (Top Left) came out for the sand patches on the base. I
basecoated in Cryx Bane Base (Top Right), then drybrushed Bastion
Grey (Bottom Left), then Traitor Green (Bottom Right).
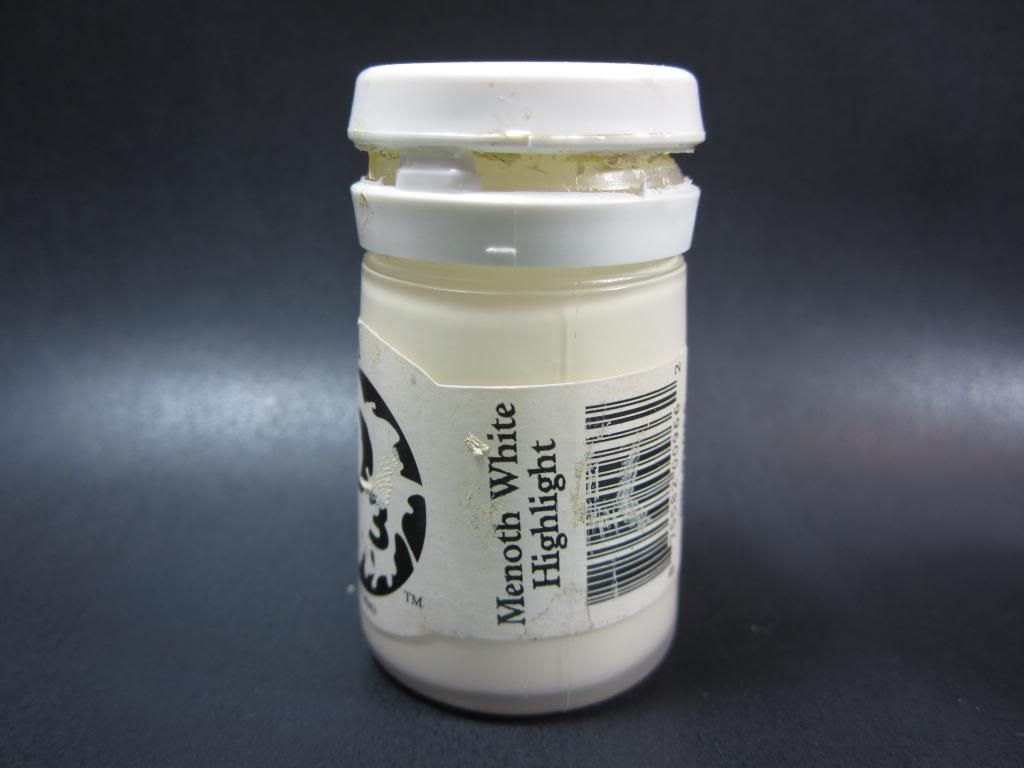
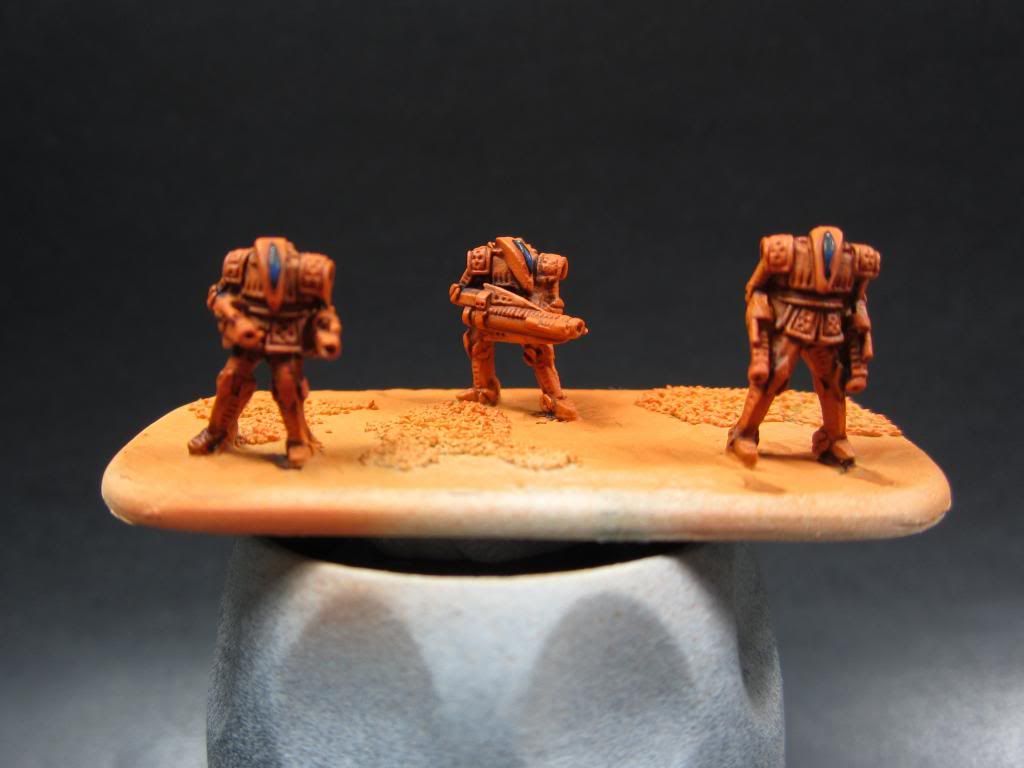
It still didn't stand
out, so I drybrushed them again with Menoth White Highlight.
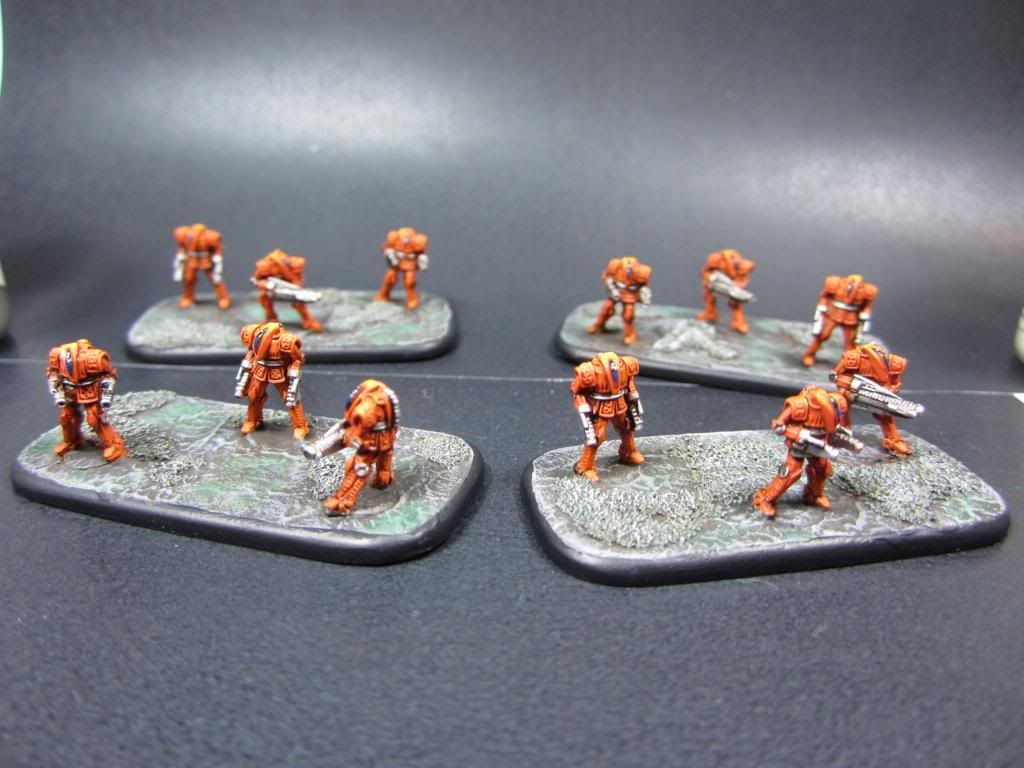
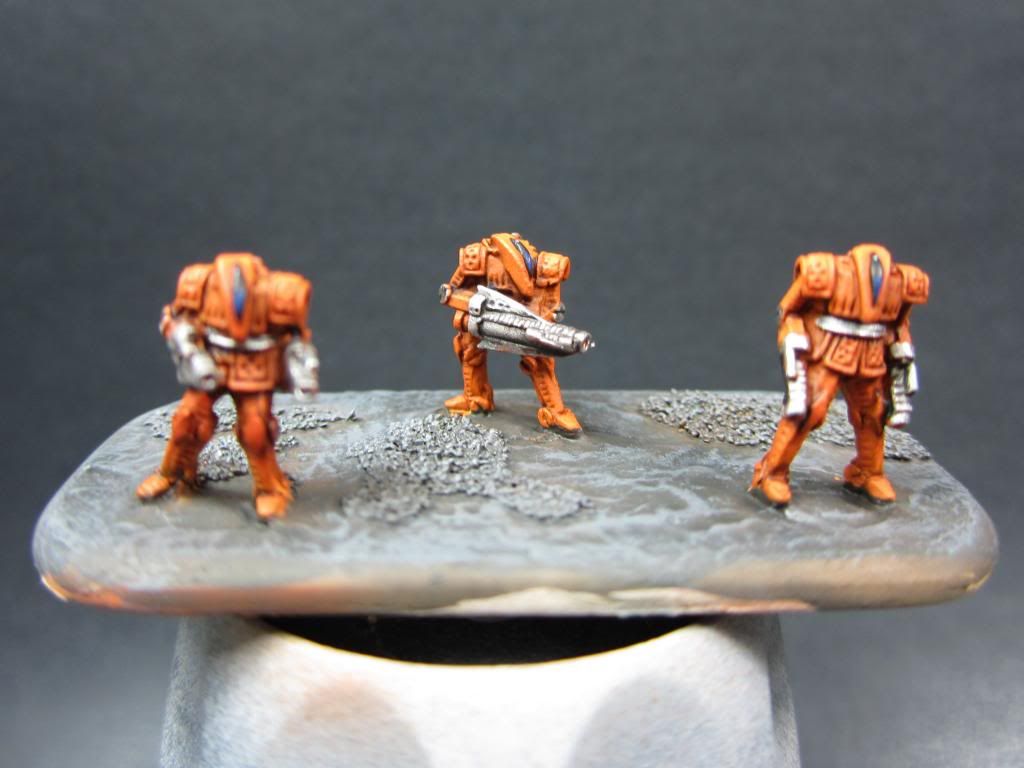
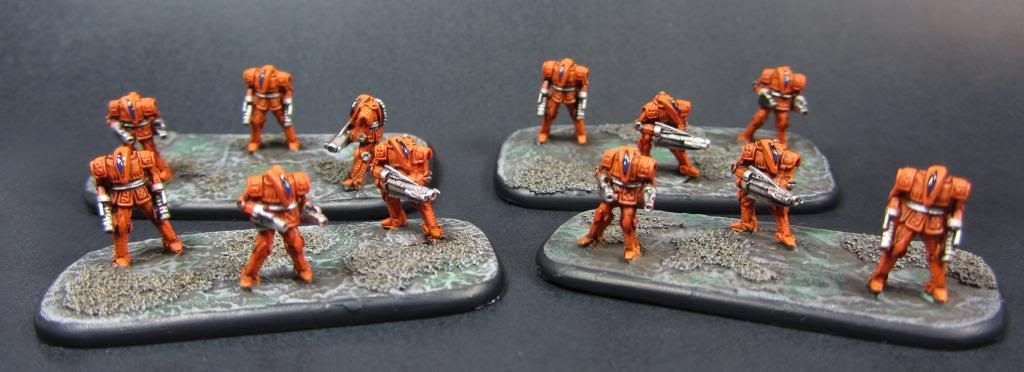
The group as they are
now. Eventually I will get shots of them with proper lighting etc,
but for now these will have to do. And I think for what amounted to
an afternoon's work (Spread over two evenings), I think they are
great!


Looks good!
ReplyDelete